Showing posts with label negative. Show all posts

Tuesday, August 30, 2016

Photos from Argus Day 2016!

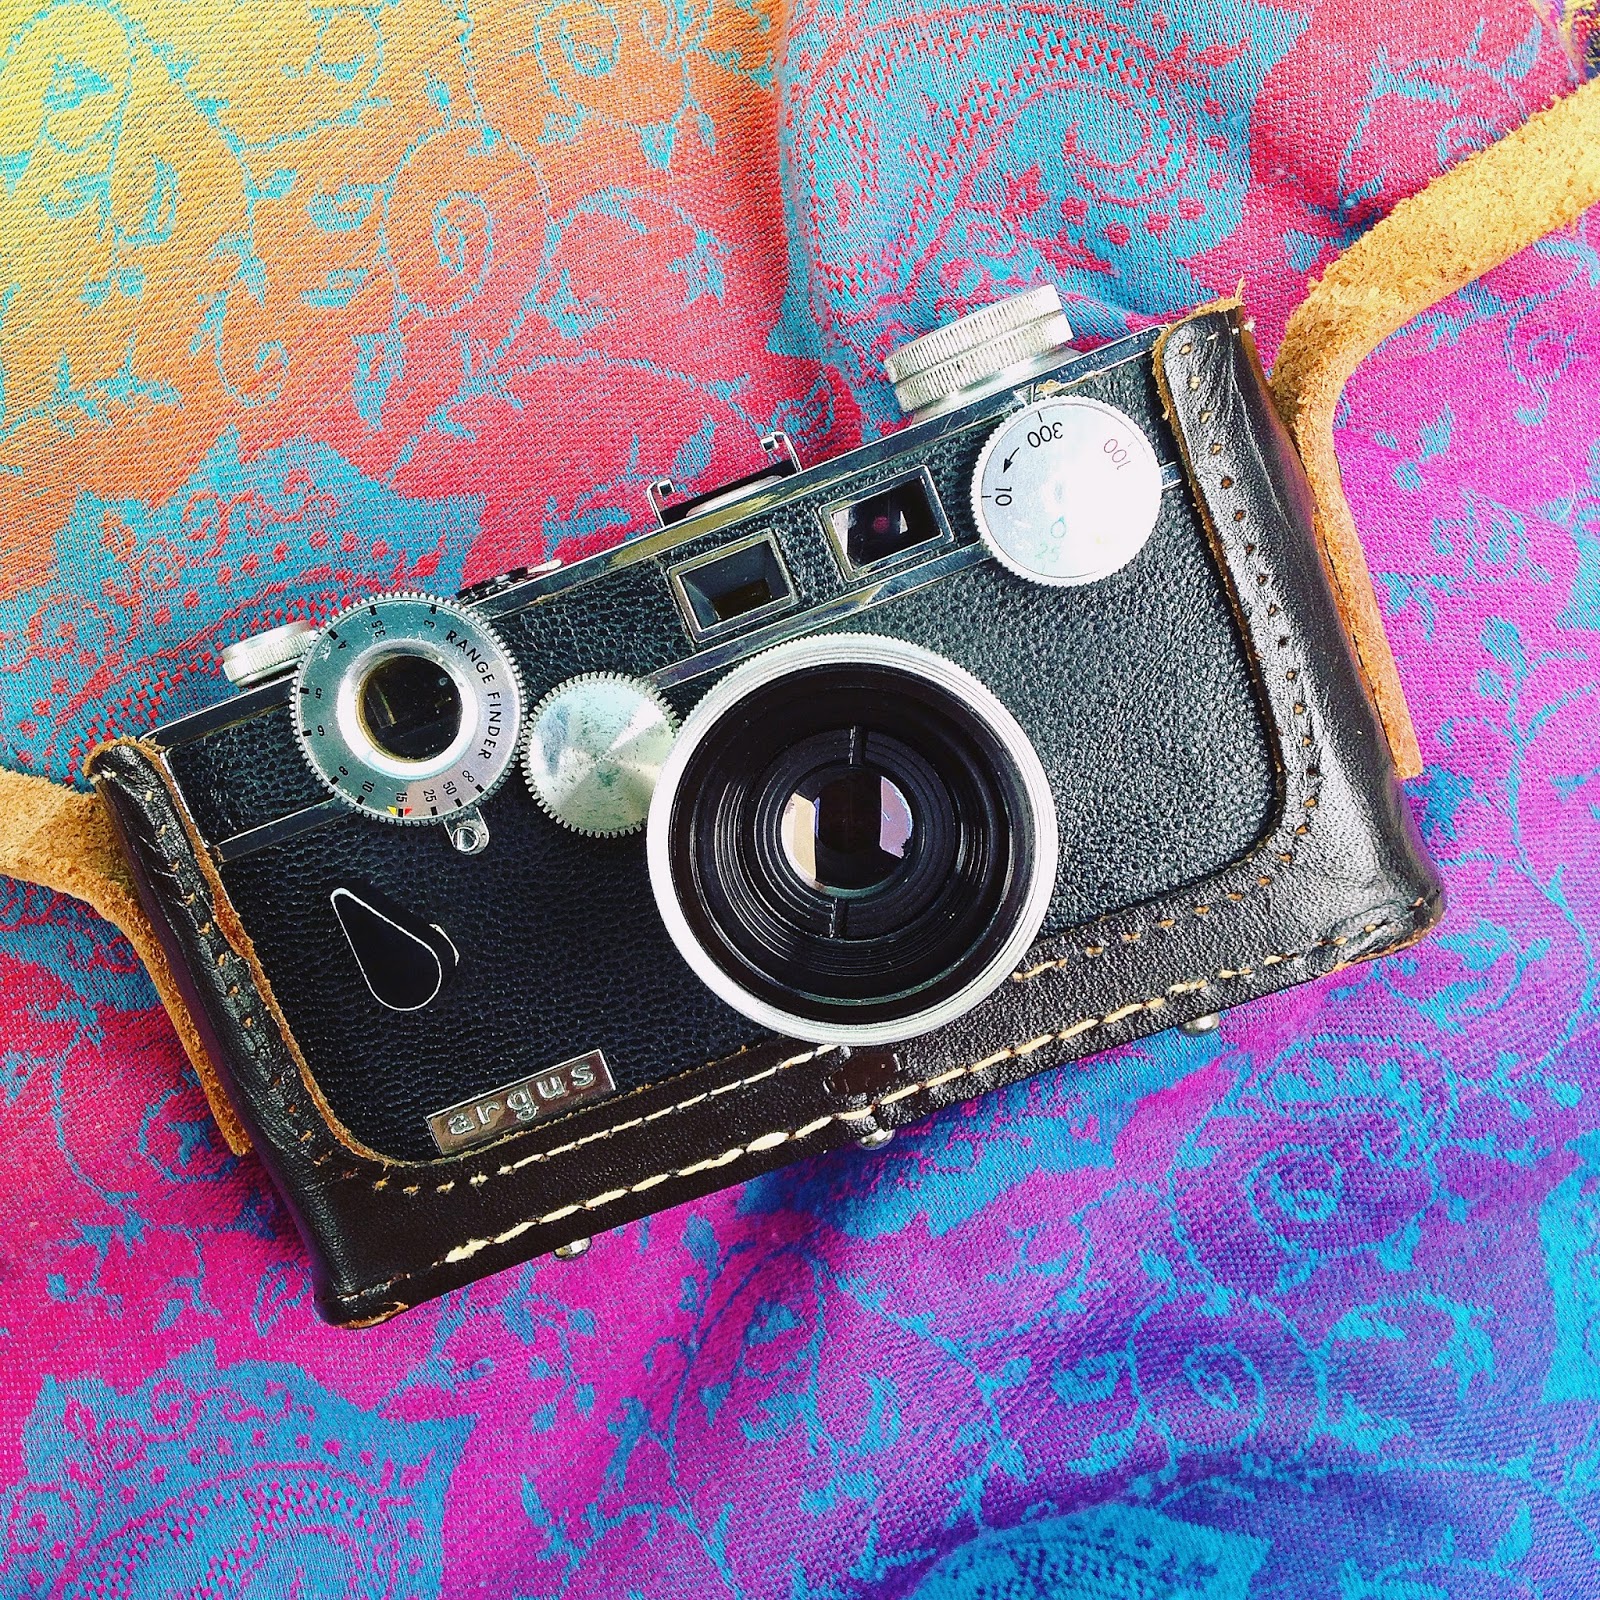
We hope all our fellow Argus lovers managed to get out and enjoy Argus Day! This year it fell on Argust 16th, 2016 and both Nicole & I managed to take our little Argus' out for a stroll. We were excited that so many of our film friends over here at Beau have Argus cameras as well and also got out there to shoot a couple of rolls! Check out a selection of our photos and those submitted by fellow Argus shooters below and feel free to still submit your Argus Day photos if you haven't already! You can email them to film@beauphoto.com.

For more info about this yearly event, check out our previous post too:

http://beauphoto.blogspot.ca/2016/08/get-ready-for-argus-day-2016.html

As well as the Argus Collectors Group page:

http://www.arguscg.org/

Check out their submissions for this year here:

http://www.arguscg.org/events/argusday/2016/


Nicole - Argus A - Kodak Commercial 200 135-8


Meghan - Argoflex 75 - Cut down roll of Fuji NHG 400 120 - (Bit of a light leak because it rolled onto the 620 spool very loosely!)


Bruce McLellan - Argoflex TLR & Argus A4


Argoflex TLR - Fuji Acros 100 120


Argus A4 - Kodak Pro Image


Troch - Argus 75 - Arista Edu Ultra 400 - Processed in XTOL stock for 8.25 minutes


Christopher Evans - Argus C3 Matchmatic, M450 & Super Seventy-Five

Argus C3 Matchmatic - Ilford Pan F film (expired 1990) - Developed in Diafine.


Argus M450 - Kodak T-Max 400 - Developed in Ilfotec DD-X


Argus Super Seventy-Five - Ilford Pan F Plus - Developed in Rodinal


Thursday, August 11, 2016

Get ready for Argus Day 2016!

Argus lovers around the world have come together to celebrate their fondness for this great old camera brand by dubbing August, “Argust” and vowing to go out on a specific day each Argust with their Argus camera. The first Argus Day was on Argust 1, 2001 and every year after that the day falls to the next consecutive calendar day, making this year’s Argus Day Argust 16th, 2016! So grab your Argus and get ready to shoot! You can share your Argus Day photos on social media, as we’d love to see them all! Use the hashtag #ArgusDay2016 or on Twitter mentions us @beauphotostore or Instagram @beau_photo_supplies. You can also email any of your photos to film@beauphoto.com and we will include them in our next post with all our photos from Argus Day! Be sure to include what camera you used.

There is even a special Argus Collectors page, dedicated to all things Argus with many great reference guides and info. You can also submit your Argus Day photos to them each year, which they then post to their yearly archive.


Since I am now a proud Argus owner, I have a sweet little Argus Seventy-Five, I plan to shoot my Argus on Argus Day and will post the photos shortly after. The Argus Seventy-Five is not a true Twin Lens Reflex camera, but more of a box camera with a TLR view finder. It takes 620 film but I like it’s small, light-weight body that often comes with the 620 cameras. If you have a 620 camera you can often trim a 120 roll to fit it, or if you have a couple 620 spools you can also re-roll 120 onto them in a dark bag to shoot. They sometimes take a tiny bit more effort to get loaded with film but I love their portability and that they are easy to use! Almost a “point & shoot” type TLR/box camera.


Here are a couple of photos I took with my Argus my first time taking it out.


Nicole also owns a great Argus camera, the C3 35mm rangefinder. Otherwise known as “The Brick.” It is a quirky “little” camera that was very popular in its heyday and there were many, many of them made in the late 1930s to 1950s.


It takes great photos and here are a couple Nicole has taken with it…


I also tried out a friend's Argoflex TLR 620 with a trimmed down roll of 120 Kodak Portra 400 film and I totally fell in love with it! It is a very sharp little TLR and I loved the results I got with it.


Here are a few of those shots…


We have a few Argus cameras for sale in our used section, including an Argus Seventy-Five in great condition. Still in the box even! You still have lots of time to come buy one to take out for Argus Day!

Stay tuned for the photos we take on Argus Day!


Thursday, July 16, 2015

Red Light in a Dark Room - Part 19

We have another installment for our darkroom series, this time from David. Thanks a lot for contributing, David!

What is your darkroom? A room, closet or bathroom? Please tell us a bit about it.

It is a storage room, no running water, very dark with overall constant temperature. Small space.

What is your process? Tell us a bit about your developing routine, especially if it's tricky!

Stainless steel Kindermann tanks. Agitate 1st minute continuously, then 5 seconds per minute up to 10 minutes, then 10 seconds per 2 minutes after 10 minutes.

What is your go to developer?

AGFA Rodinal or Kodak HC-110.

What is your all time favorite film/developer combo?

AGFA APX 100, Rodinal. 1:50 68F/20C.

What kind of look does this give you?

Crisp.

Have you tried any or are you interested in any alternative processes, such as cynotype?

Palladium, salted silver. (1986)

What is the best processing tip you can give?

Cleanliness, constant temperature, correct times, patience.

Monday, April 20, 2015

Red Light in a Dark Room - Part 18

We're back this week with a new installment of our dark room series from Ron. Sounds like a good set up and a reoccurring theme in the advice column definitely seems to be STAY ORGANIZED and be meticulous about recording what you do. Thanks, Ron!

What is your darkroom? A room, closet or bathroom? Please tell us a bit about it.

When it comes to developing film I use my whole house. The Laundry room (loading reels), the Main Bathroom (for drying the film) and the Kitchen (for mixing the chemicals and "souping" the film).

My darkroom does double duty as a laundry room. It works well since it has no windows and I've set a curtain before the door so no light sneaks through from the outer hall. The top of the washer and dryer make a good large workspace. I haven't expanded into printmaking yet. (I have an enlarger and all the accessories, but I need to build a proper darkroom before I can use them.)

What's your process? Tell us a bit about your developing routine, especially if it's tricky.

I like to keep my process as simple as possible. I use two 2-reel Paterson tanks which I load in the darkness of the laundry room.

Before loading I check Massive Dev chart (http://www.digitaltruth.com/devchart.php) to ensure that the films I am developing have the same development times (not a concern for colour but important when developing black and white)

I make a note of each roll and its position in which tank.
ie. tank 1 - Top: HP5 - Olympus OM 10 - March 5 - Gastown

Bottom: HP5 - Canon QL17 - Feb 3 - Strathcona

I often check filmdev.org to see what other people are doing; but, for the most part, I like to stick to the tried and true methods found on the Massive dev chart website.

I don't do stand developing, not because I don't like it but because I haven't the patience to sit around waiting :) My general rule of thumb is agitate for the first 30 seconds and then 4 or 5 inversions every minute after that.

Sometimes I will pick up Ilfostop, but if I run out I do a water stop for two minutes (30 seconds agitation/empty/refill and repeat)

I use Ilford Rapid fix as my go to fixer and, even though it says three minutes is adequate, I like to fix for 6 - 7 minutes using the same agitation as in developing. I've read that it is difficult to over fix and I haven't yet.

Once the film is developed, I hang dry it in the main bathroom (I run the shower for about 15 minutes before hand to keep any dust from ending up on the film as it dries)

Once dry I scan it to my computer with an Epson V550 scanner and store the negatives in archival sheets and binders.
What is your go to developer?

I like Ilfosol 3 because it's low maintenance. I can mix it and go. Unlike a powder mixes like D76 where I have to mix it ahead of time and let it cool.

What is your all time favorite Film/Film developer combo?

I can't give an opinion on this as I haven't been doing this long enough to have experimented with different combinations. I often use whatever I have in the house. Currently I have enough Ilfolsol 3 for two more rolls and a liter of D76 mixed/ready to go. I just picked up 3 - 5L mixes of Xtol and am excited to give it a try.

What result/look does this give?

I will say this... When I've developed HP5 in Ilfosol 3, I've found the results to be grainy with a nice contrast; however, Ilfosol3 with Tmax 400 ended up with a nicer grain and less contrast. Now, take it all with a grain of salt since, like I said, I haven't got the years of experience that many, more knowledgeable, folks may have.

Have you tried any or are you into any alternative processes, such as cyanotype?

I haven't done anything like cyanotype, but I have had great fun playing with caffinol. If you're unfamiliar... Caffinol is a process in which you create your own developer using instant coffee, vitamin C, and washing soda. (It smells as revolting as it sounds) A great video can be seen at https://www.youtube.com/watch?v=zYjOqcbBEco and many different recipes and guides can be found at http://www.caffenol.org/

What is the best processing tip you can give?

1) Leave your phone, smart watch etc outside the darkroom! I learned this lesson a couple days ago when I forgot to take off my watch and, half way through loading some 120 film on a reel, it lit up.

2) Invest in a film puller - makes life soooooo much easier.

3) Set everything up the same way every time. Its so much easier to find the reel, scissors, film rolls etc... when you put them in the same place.

4) Label your film - often it will be weeks or months before you process some rolls (Gary Winogrand would let his film sit for a year) and it sucks trying to archive your stuff when you can't remember when/where the photo was taken, or what camera/ lens combo was used.

5) Make a note of what film is where in the tank and keep track of where it hangs when drying ( I work top to bottom/left to right - so when hanging the film the top roll in the tank is always on the left and the bottom roll is on the right (tank 1 is left, tank 2 is right.))


Friday, April 17, 2015

Where can you develop film in Vancouver?

Looking for somewhere locally to develop 110, 35mm 120 Black & White & C41 film? Well, the friendly staff at Rocket Repro are here to help! Thanks to Martin for providing us with a little bit of their history and what services they offer.


Most people think about Rocket Reprographics as “The Headshot Place” where actors and headshot photographers get their images printed. While this is certainly true, we do so much more than that, providing services for both professional and amateur photographers.

Rocket Repro began as an exclusively Black and White photo lab in the late 1980’s servicing a small number of professional photo studios. At that time all headshots and much fashion photography was shot and printed in Black and White. In the mid-90’s we took our lab retail with a storefront in Gastown and did Black and White film development and printing to include amateur photographers and enthusiasts as well as our professional clientele. (We even included budding photographer Brian Adams as a client - our Gastown neighbour before moving to London!) The next transition was to color processing and then ultimately to digital. We now provide a full spectrum of imaging services including digital output wide format, fine art prints as well as servicing Actors with headshots Canada wide.

But still, we have not forgotten our roots. We continue to process both Black and White as well as Color negative film, and we print and scan from negatives for both professionals still working in that medium as well as photo enthusiasts revisiting this lost art. We are very excited to see film make its resurgence and truly enjoy being part of this new film revolution. 

ROCKET REPROGRAPHICS INC
403 West Cordova St. Vancouver BC
604.682.6000
www.rocketrepro.com

Thursday, April 9, 2015

Adventures in Chemistry: Darkroom Safety

Our friends over at Cineworks have a great course coming up!
 
ADVENTURES IN CHEMISTRY: DARKROOM SAFETY

19 April 2015—11:00am-1:00pm
Cineworks Annex, 235 Alexander Street

How many of us have ever handled darkroom chemicals without gloves? Or developed a print without tongs? We've all read the warnings on photographic chemicals, but how many of us have always heeded them? To the novice, many of the precautions sound like hyperbole designed to protect the manufacturer rather than inform the photographer. But the warnings are real. Chemicals commonly encountered in the darkroom range from the harmless to violent poisons. It is important for the darkroom enthusiast to understand the hazards faced in the pursuit of art. This class is designed to introduce students to the roles of chemicals in our photographic work, their risks, their benefits the procedures required to use them safely.

$15 Cineworks members; $20 non-members (plus taxes)
Bookings: https://darkroom-safety.eventbrite.ca
http://www.cineworks.ca/attend/event/97

Monday, March 16, 2015

Red Light in a Dark Room - Part 16

This week we are excited to bring you a new installment from our series all about Stephen's darkroom and soon to be darkroom. Sounds like a very unique set up! We'd love to see photos once the new kitchen darkroom is going! Thanks a lot, Stephen.

What is your darkroom? A room, closet or bathroom? Please tell us a bit about it.

My darkroom consists of two moving blankets on either side of my windowless bathroom door, for the time being. I have recently purchased some blackout fabric. The panels are going to be sewn together to create walls and are then going to be attached, floor to ceiling, with 2” Velcro around my kitchen. It will have everything I need in there. Ventilation (oven fan), Wet side (sink) and Dry side (counter space). Now I just have to figure out where I am going to do my cooking. Yes I live alone.

What's your process? Tell us a bit about your developing routine, especially if it's tricky.

My process is very standard. I use Paterson tanks and reels in 35 and 120 formats. I always pre-soak the film for 1 minute or so in 20.5-21C water then add my 20C developer. I agitate by inversion continuously for the first minute then 1 inversion every 30 seconds thereafter. My stop bath is also at 20C, continuous agitation for 1 minute and the fix is somewhere close to 20C, continuous agitation for the first minute and 1 inversion every 30 seconds thereafter again. The film is rinsed thoroughly in water. I then let it sit in a water bath for 10 minutes and repeat this step 3 times for a total of 30 minutes. I am trying to reduce the amount of water I use. Then hang to dry in my bathroom that I had a shower in to get any dust down.

I also stand develop film and love the results with this process. I will let it sit for 60, 90, 120 minutes, just for fun. I have even put borax in my developer at times and I am going to try using salt water with my developer as well just to see what happens.

I will cross process anything by stand developing.

What is your go to developer?

My go to developer is Blazinal. Love this stuff. I just purchased some Xtol and mixed that up the other day.

I will shoot a roll of 35mm film of 24 or 36 exposures, go in my darkroom and cut the film in half, put each half on a separate spool and process in different developers.

What is your all-time favorite Film/Film developer combo?

I haven’t figured that out yet.

I jump around with so many different combinations. I use Blazinal and Xtol, which I mentioned, as my developers and I shoot Ilford Pan F, HP5+ and Delta 100. In Kodak stock I use Tri X 400.

What result/look does this give?

So far the look that I am achieving with all these different combinations is just what I have been hoping for, Black, White and a bunch of different tones of grey.

I need to focus on one developer and one film for a while to find what really speaks to me. I am going to work with Blazinal, HP5+ and see what happens.

Have you tried any or are you into any alternative processes, such as cyanotype?

I have played around with the gum dichromate process and produced one piece from that. When the time comes I will do more of it but for now I am consumed with the B&W process.

What is the best processing tip you can give?

Don’t be afraid to make mistakes. Film is cheap and even mistakes are to be learned from. Experimentation keeps things from getting stale.

Don’t drink anything when you are in the darkroom!!!


Below is a sample of the Gum print Stephen tried out.


Monday, March 9, 2015

Red Light in a Dark Room - Part 15

For this week's Red Light in a Dark Room we are very happy to learn more about Russel and Wendy's wonderful home darkroom.

Wendy and Russel Kwan are fine art photographers, exclusively producing their limited-edition work as toned fiber-based silver-gelatin prints in their studio and darkroom. Their work has been exhibited in Canada and the US in commercial and academic museums and galleries. Their next scheduled solo show, "Space + Time" will be at Visual Space Gallery in Vancouver, 21 Aug to 5 Sep 2015. They are the black-and-white darkroom instructors in Continuing Studies at Langara College (next course "Basic Darkroom PHTG 1003" starts Tue 5 May 2015), and independently operate their Photography MicroSchool (these courses have nothing to do with darkrooms!) in Vancouver (next courses start in May 2015).

What is your darkroom? A room, closet or bathroom? Please tell us a bit about it.


We have a darkroom tour page on our website: http://NewMythographs.com/pages/rwpMainframeDarkroom.html .

Our darkroom is a purpose-built 9x13 foot room with a custom stainless-steel sink running the length of one side, and cabinets / enlarger workstation on the other. It is built for efficiency, so we can make mistakes really fast.

What's your process? Tell us a bit about your developing routine, especially if it's tricky.

We use a variety of processes, including some secret home-brew chemistries - but the basic stuff is what many people use: Paterson tanks and reels and a traditional print tray-line. We do have a film processor for straight photography - it's a Photo-Therm SSK-8, and it's a trouper.

What is your go to developer?

Russ uses a variety of home-brews, none of which are published, as well as Kodak HC-110. HC-110 works much better when it's been aged a lot. So does Blazinal. Wendy uses Ilford Perceptol.

What is your all time favorite Film/Film developer combo?

Russ uses HP5 & HC-110, and Rollei IR & HC-110 a lot. Wendy uses Delta 400 & Perceptol, and Ilford SFx & Perceptol. It probably should be noted that we don't use any film or chemistry (other than fixer) according to the manufacturer's instructions.

What result/look does this give?

It's a total light-path thing. Everything matters, from lens to camera to film-format & film to development regime to enlarger type to enlarger lens to print paper to print processing to toning. Neither of us has a single "look" - rather, we invent new looks for every body of work. There's no way to assess a look online - to see it, you'll need to see the finished prints.

Have you tried any or are you into any alternative processes, such as cyanotype?

We've tried lots of things, including gum, lith and cyanotype - but silver remains the most flexible and malleable medium for both of us. Home-brew chemistry can totally transform silver, allowing the medium to do completely new things.

What is the best processing tip you can give?

Keep ridiculously complete and detailed notes. Be consistent with everything. Change only one thing at a time. Make copious mistakes and keep close track of the cool ones. Bravely and ceaselessly experiment.

Tuesday, March 3, 2015

Red Light in a Dark Room - Part 14

Thanks a lot to Nigel for his great darkroom info this week! It's interesting to learn about some different alternative processes as well.
 
What is your darkroom? A room, closet or bathroom? Please tell us a bit about it.

I'm fortunate to have light-proof, interior bathrooms in the places I've lived - which makes handling film, controlling dust and keeping a steady temperature a lot simpler. With 4x5 film I'm really careful about dust, a bit OCD with vacuuming the bathroom ceiling to floor, the film holders, the camera and so on.
 
I've drifted away from silver-gelatin printmaking over the years but after seeing Lee Freidlander's wonderful show at Presentation House, I'm seriously thinking about squeezing a 4x5 enlarger into that bathroom.

What is your process? Tell us a bit about your developing routine, especially if it's tricky.

There's nothing very special about my developing routine. Good control over the processing time/temperature is the most important thing. Lately I've been using a cool little iPhone custom timer app from Kodak Film which beeps on cue and has a safelight display. To control temperature, I start with the room - I aim to keep temp in the bathroom at 20C, and stand my processing drum, chemicals and large bucket of water in the room overnight, so everything is at 20C. I use that water to make up the develop/fix solutions, also for a rinse to halt the development. Sometimes in colder weather I'll use an aquarium heater to maintain the water temperature. I use a Jobo drum for 4x5 processing - nothing fancy, fill with a funnel and roll it gently back and forth on a towel on the floor. I also have a couple of reel/drum tanks for roll film. For washing, I use a Polaroid P/N film bucket, originally intended to hold and clear Polaroid Type 55 negs in the field. But it also works great to wash reels and sheet film. After washing under the tap (also around 20C but not so critical) for an hour or so, I dip the film in Photoflo solution and clip on a line rigged in the shower to dry overnight.

What is your go to developer?

Early on I tried Rodinal at 1+25 and I've stuck with that. I've also used Xtol for roll film, and have dabbled with PMK (pyrogallol metol staining developer) under full hazmat protocols :-)

What is your all time favorite Film/Film developer combo?

HP5+ and Rodinal.  

What result/look does this give?

HP5+/Rodinal gives me a solid 4x5 neg with good density and tonal separation in the mid and light grays. The light and shadows here on the west coast are fairly blue - especially strongly lit seascapes/mountainscapes - so I generally use a 2-stop yellow-orange lens filter to improve sky definition and shadow contrast. With HP5+ I end up with a handy working speed of 100 after the filter factor; with Rodinal the whole analog image chain just seems to fall into place.

Have you tried any alternative processes, such as cyanotype?

I've experimented with PMK processing and the ziatype (platinum/palladium) printing process to make 4X5 contact prints. It's a neat but finicky process that relies on a slightly damp paper emulsion. It's quite a bit of work to get the paper and coating routine dialed in. I also ended up building a UV light hood to guarantee a source of "sunshine". But the prints turn out to be wonderful, gloriously tactile objects.

I’m very attached to polaroid processes and have had some nice results using the Impossible SX70 film. I sincerely hope the New55 project eventually comes to fruition - I have about a box and a half of old and now rather dodgy Type 55 left - it's a bit of a personal ritual for me to expose a few sheets every year just for the experience.

What is the best processing tip you can give?

Be methodical and keep notes. Get a good thermometer! Have fun and don’t process any critical images until you’re well dialed in.
 
 
Here area  few examples of Nigel's work.
 
For more, check out his website: atmosphericlens.com
 
 
HP5 in Rodinal


HP5 in PMK


HP5 in PMK/Ziatype Print